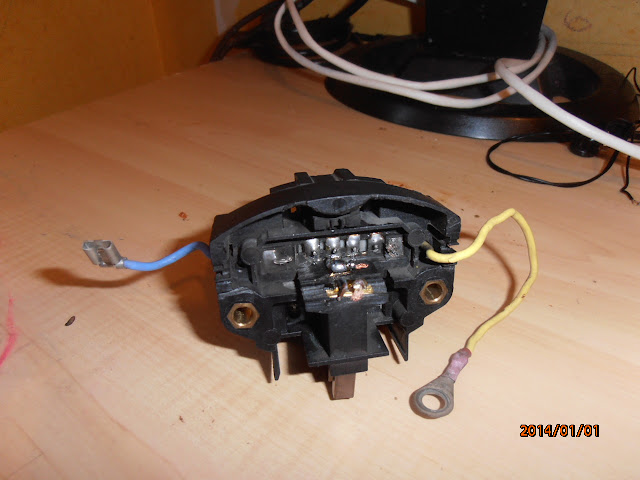
Alternator is the most important part of the vehicle electrical system. It provides power to run the electrical accessories and charges the battery. Alternator brush change is a common repair for used vehicles. Brushes are mounted inside the brush holder or the voltage regulator of alternator. Recently mounted new brushes in the alternator with related testing partly according to the instructions of Professor youtube and partly my own procedures. Design of the different makes may differ but the principle is same.
First remove the alternator from the engine compartment and remove its voltage regulator. Then remove the brushes by drilling or piercing two holes on the top of the brushes. Voltage Regulator-cum-brush holder with its springs, new brushes and old used brushes. You can see the difference in size.
Put springs in the brush holder. Springs push the brushes against the slip rings of the rotor of alternator.
Draw a line on the new brushes to fix the brush length to be pushed inside the holder and the rest to remain out of the brush holder.
Put the wire of brush inside the spring and pull the wire out of the other end.
Hold the wire with an alligator clip and put some solder with soldering iron and solder wire.
First brush soldered.
Second brush inserted and its wire held with an alligator clip.
Second brush soldered (shown below).
Cut excess wires of the brushes.
Inspect the slip rings of alternator whether they are still usable (slip rings also wear out but generally at a slower rate).
Attach the voltage regulator to alternator.
Mount the back cover.
The white line on the pulley of alternator shows the position of nut in the tightened position. Also note that the ventilator blades are not of the same size for acoustic reason (not to privilege sound on a single frequency).
Test the diodes of alternator with a multimeter (use the diode test function of the multimeter or the presence of ac voltage at the battery, which should be almost zero) and then attach it to the car battery and test the voltages on the two terminals (excitation and battery warning light) of the voltage regulator with respect to a ground. Finally alternator installed, belt tightened as per the specifications. Voltage at the battery 14.6 Volts (engine running) for a 12 Volts battery and Job Done.


No comments:
Post a Comment